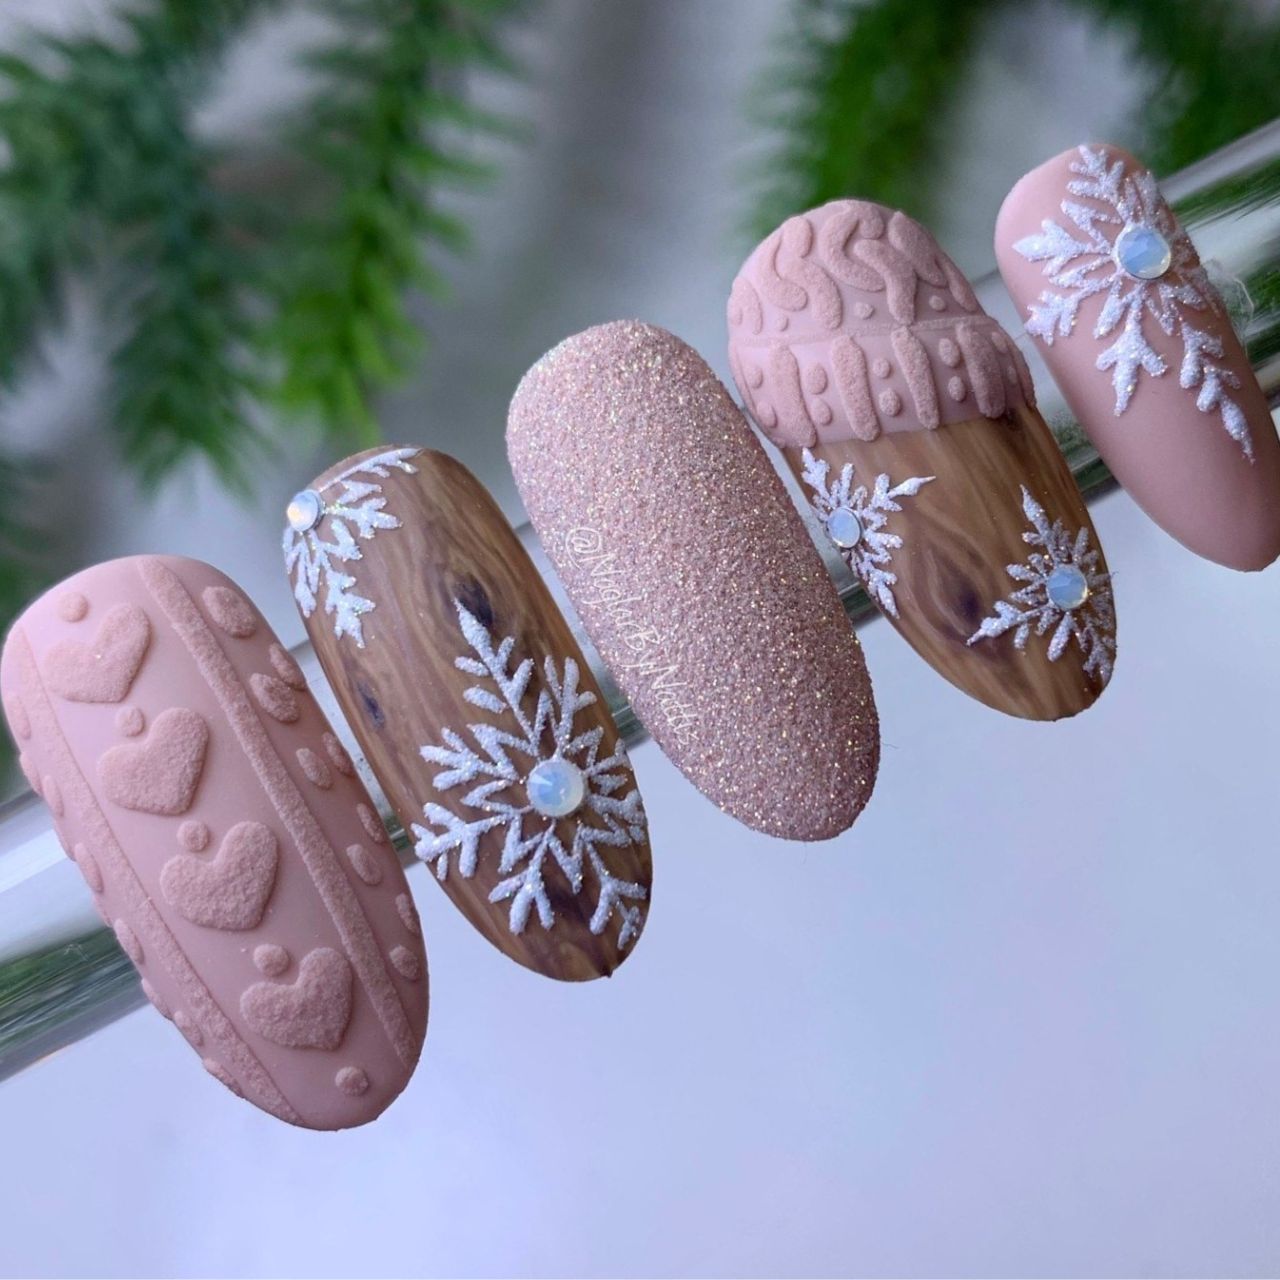
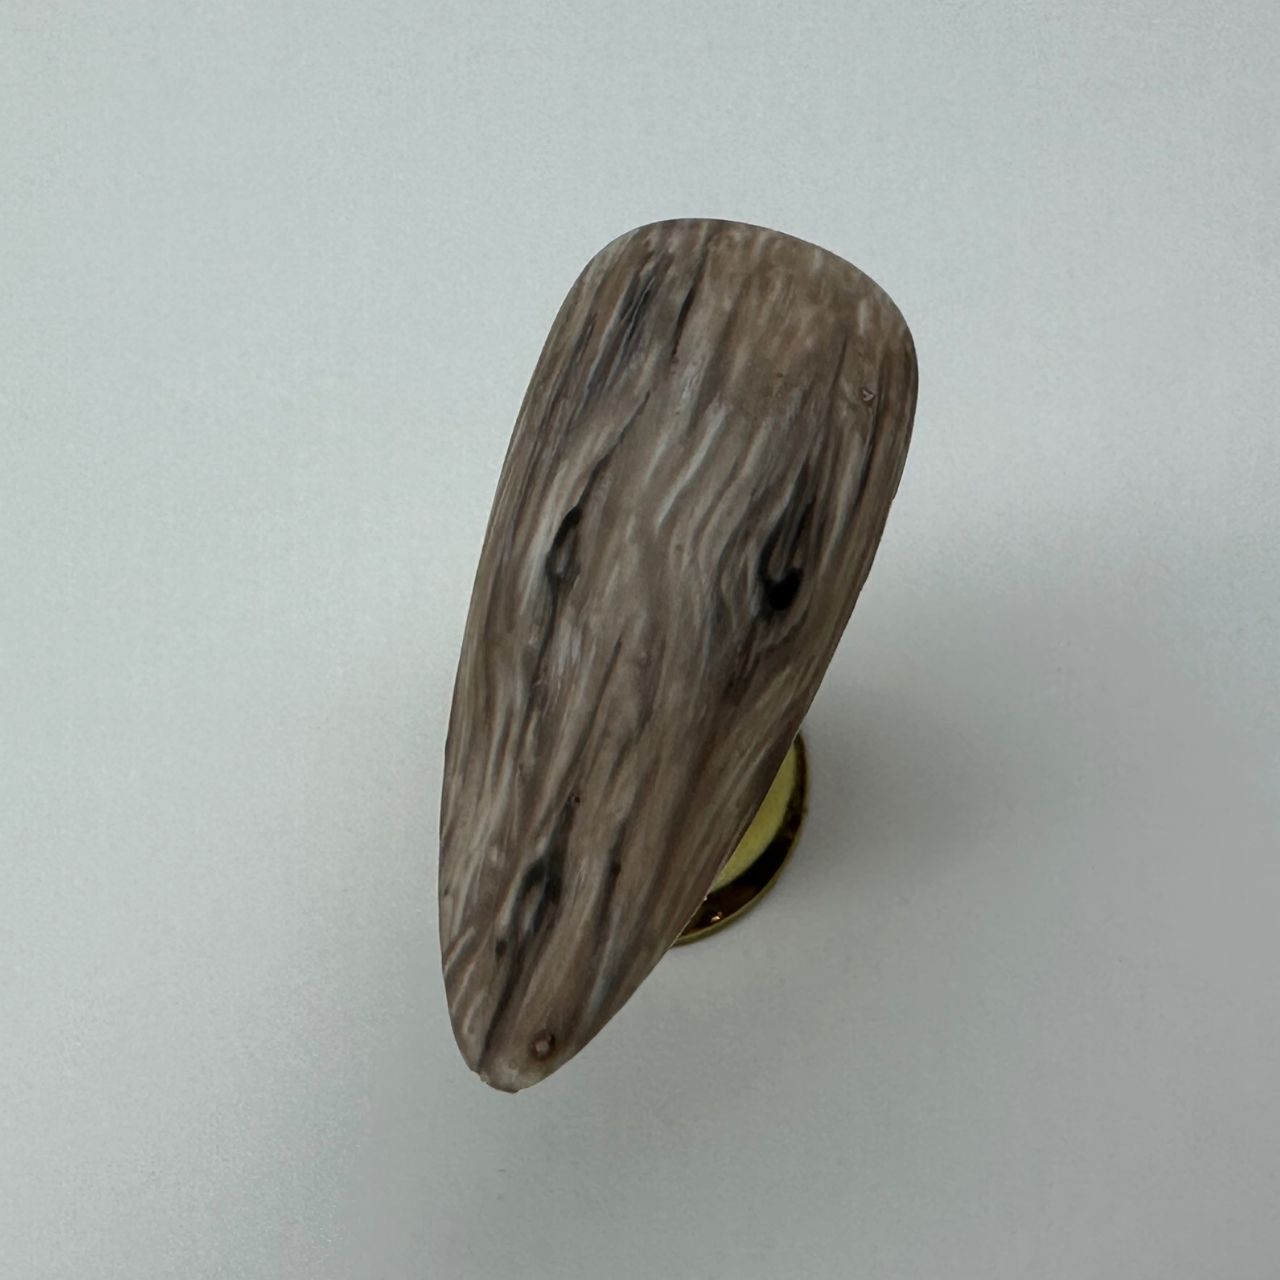
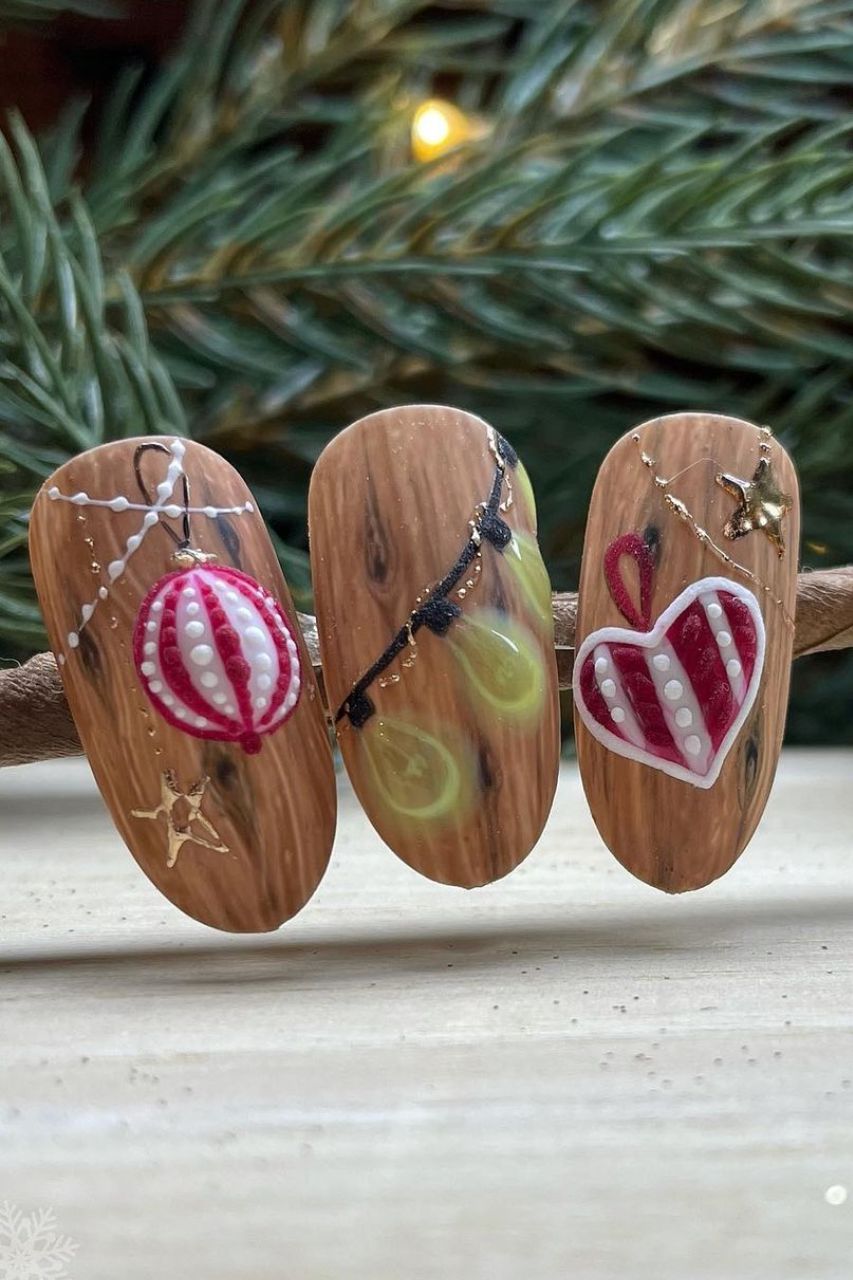
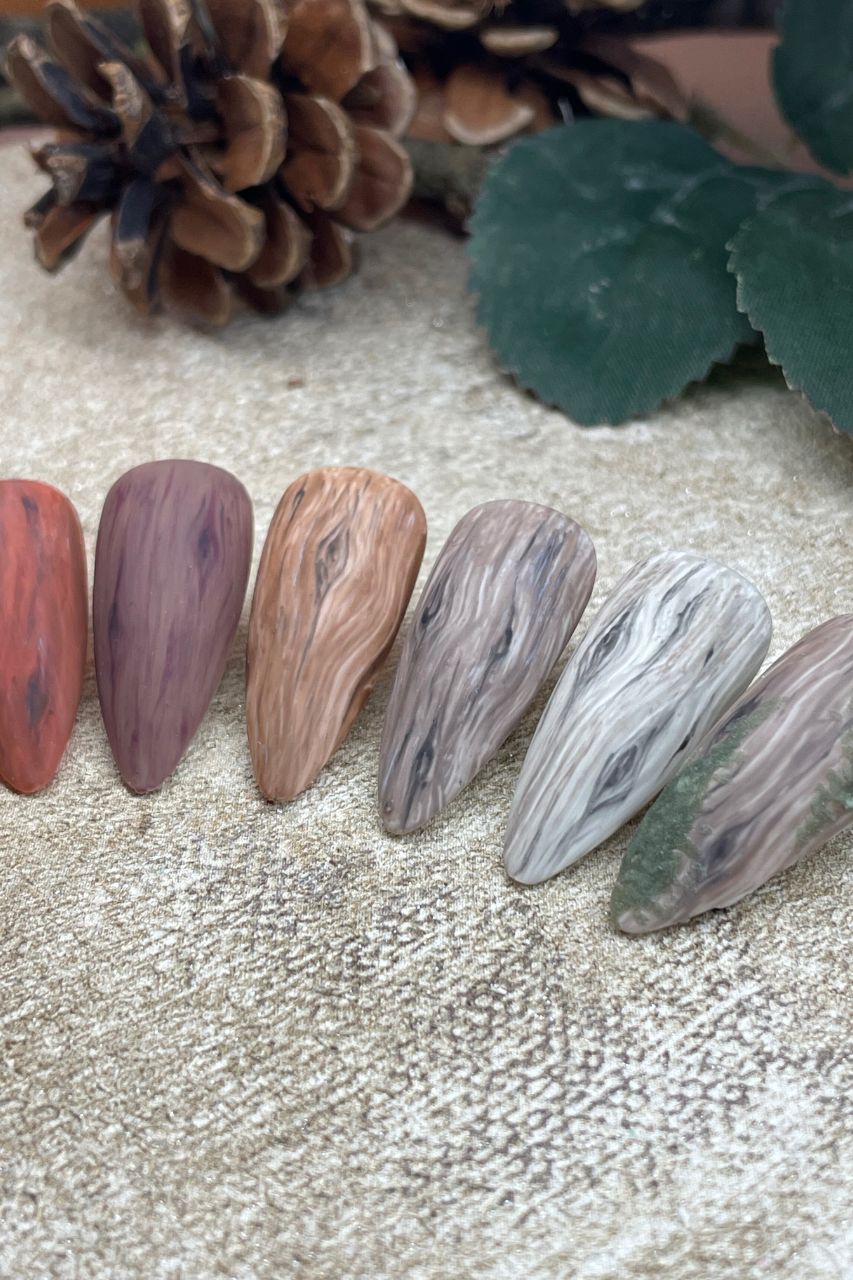
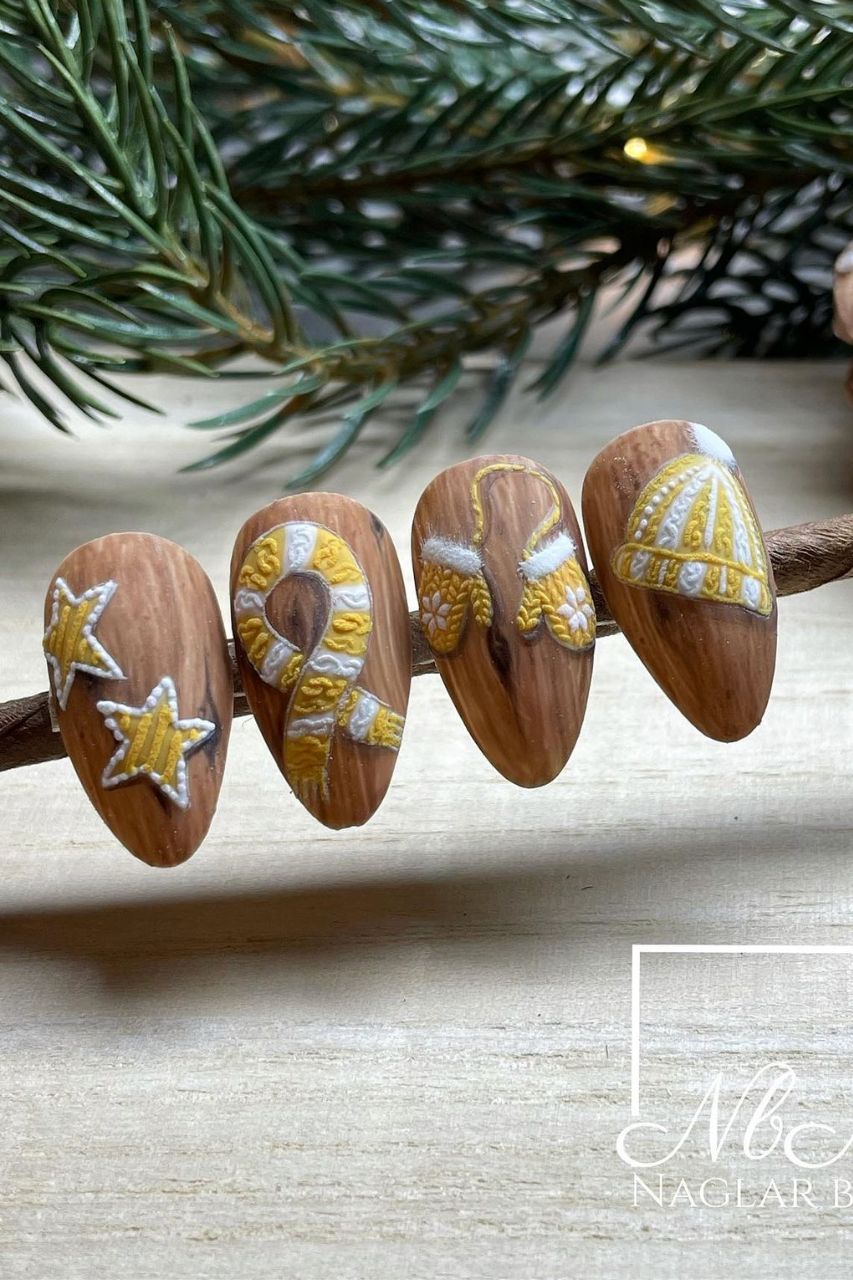
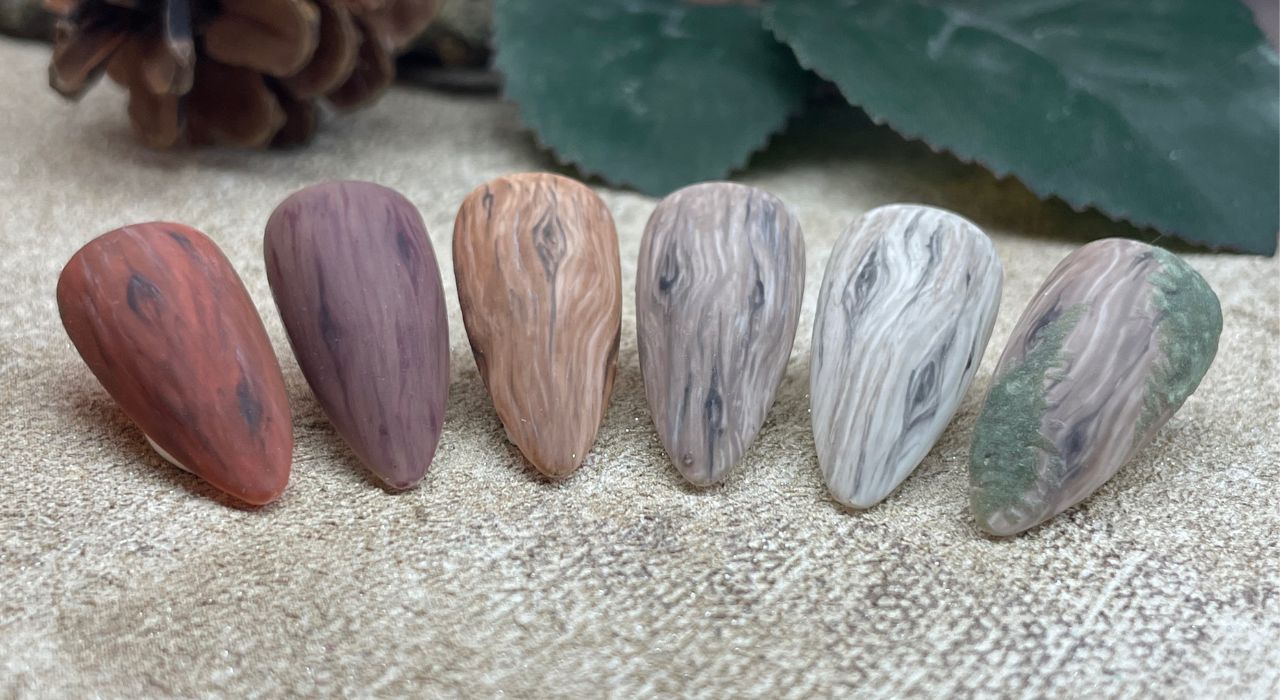
Join the March Madness on MNA!
Use the code “MarchMadness" and get 40’% off on all courses all month
LOGIN

Welcome to the classroom

Congrats! I'm so happy and proud of you for taking this step and investing in yourself and your craft! You and I got a very exciting time ahead of us and I am super excited to share all my deepest secrets on how to paint realistic wood designs!

Let's get social!

Before jumping into the video, let's hook you up with some new friends! Go to Facebook and join our official group "My Nail Academy - Students". There you can share your nail work, get inspired by others, chat and find new friends all over the world. Also make sure to follow the official Facebook page "My Nail Academy" and the official Instagram account @mynailacademy to stay updated and get information about new classes.

Meet the teacher - Nathalie Hammar

Let's start preparing:

The first thing you want to do is to download and print the compendium that you can find here:

These are the products you'll need:

  • UV / LED light
  • Cleanser / Alcohol
  • Wipes
  • Decoration tips
  • Tip holder
  • Ombre brush
  • Striping brush
  • Detail brush
  • Matte top coat
  • Gel polish or gel colors (see compendium for color palette)
  • Reference pictures of different types of wood
  • Bonus: clear acrylic powder

My best techniques

In this course I'll teach you the fundamentals for how to create realistic wood. Once you know these you can then start to experiment and come up with your own techniques and designs! You'll also notice that just by looking at different types of wood references, you'll know which techniques and steps to take to create that exact look.

Exercises & Quizzes

After each class you'll find corresponding exercises and quizzes to complete before moving on to the next class. Make sure to take your time and go through all the steps to get the most out of this course.

If you are unsure of how the quizzes work, you can find a tutorial in the FAQ section.

The no. 1 secret to get better

As you go through the videos you'll watch me create a specific wood look. I know what they look like because I have been studying them for years. But remember, this is my perception of these looks. If you look at drift wood for example you might find even more details to translate into your design. That's why it is so important to keep a reference picture next to you. This is by far the fastest way to up your nail game in seconds. 

So for the exercises I want you to keep a reference picture next to you and really look at the design that you're about to do.

Also remember to never search for "wood nails" if you are unsure of what a wood designs on nail looks like. Go straight to the original source - search for "natural wood" and I promise you that it will help you so much more, especially after this class when you know which technique to use when and where.

Products that I personally recommend

Here's a list of some of my favourite products to use:

  1. Moonshine Chromes - This is a collection of the highest quality chromes that I have been part of picking out.
  2. Earthy Minearls Chromes - This is also a collection that I have tested and picked out myself.
  3. Silicone Tools - Here you have the ultimate collection of silicone tools that you can use for your chromes.
  4. Moonflair Crystals - Here's where I get all my crystals. I love that they come in a multi pack with several different sizes so that you don't have to think about what to get. These are also super high quality!
  5. Pick-up tool - This is my favourite pick-up tool to use for your crystals or other decorations.
  6. Caviar Beads - I love using caviar beads for my designs and here you have all the main colors you need (silver, gold, rose gold, gunmetal) and also in different sizes.
  7. Reflective Glitter - Another effect that I love is reflective or "flash" and I especially love to work with lose pigments instead of a gel polish. Then I can choose if I want to sprinkle it over a certain part of the design or mix it with gel.
  8. Tip holder tape - This is my go to when it comes to attaching the tip to the tip holder.
  9. Silicone mold - These are perfect to use when you want to create 3D flowers and bows.
  10. Almond tips - I like to use these for my designs.
  11. Pointy almond tips - I like to use these for my designs.
  12. Short almond tips - I like to use these for my designs.

Let's get started!

So without further ado, let's jump into the first quiz and then start with the first step by step!

Lesson Content
menu