Certification

Let me just start off by saying how proud I am of you for brushing that dust off and getting back up again! Your determination is what’s going to take you far, so respect to you!
How does this work?
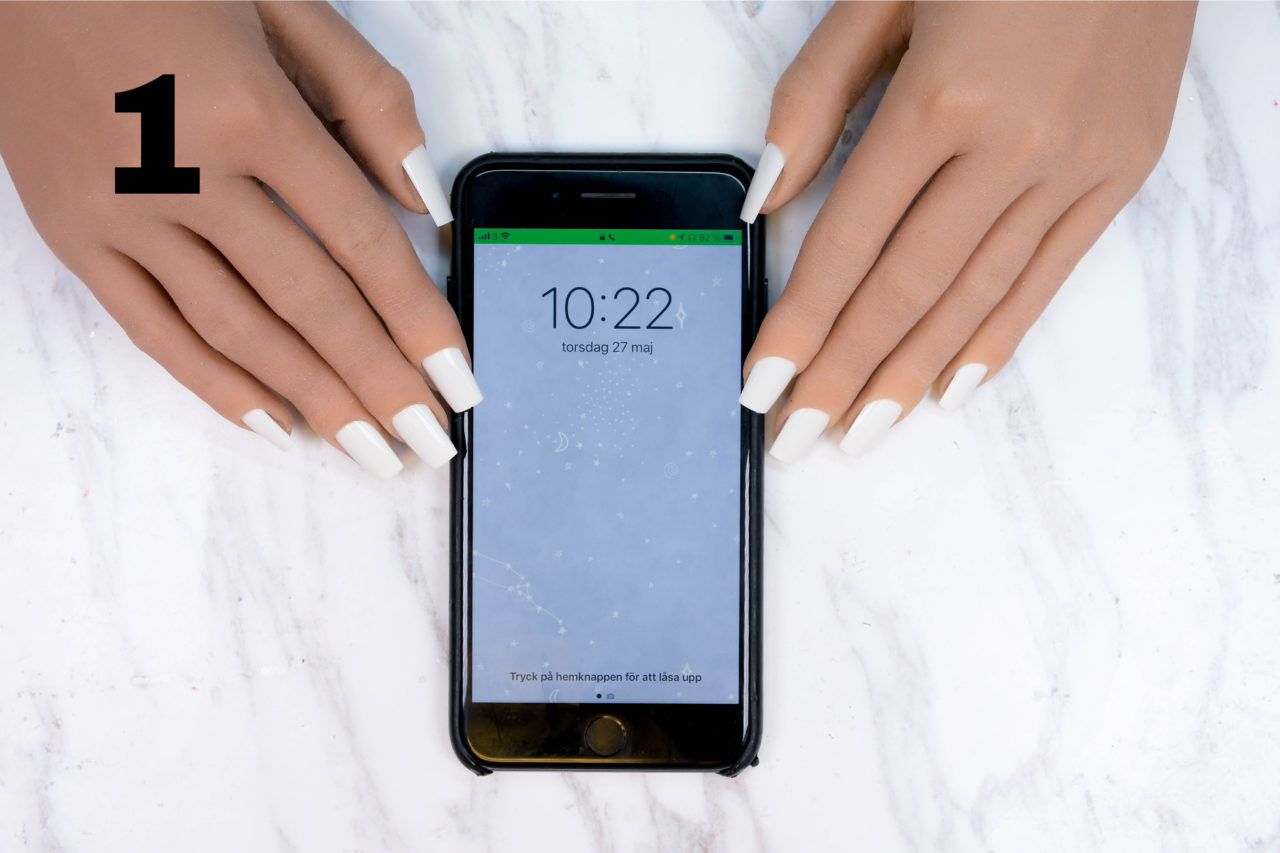
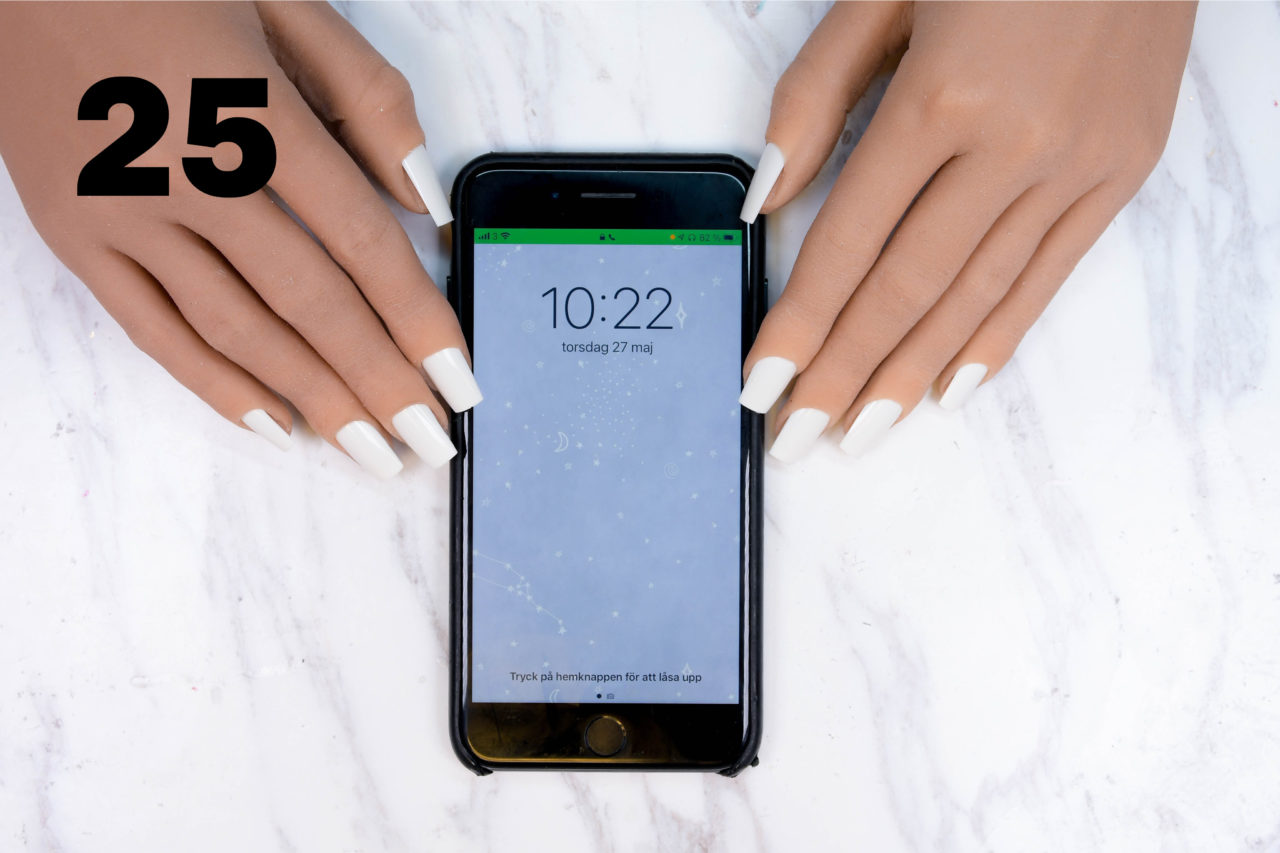
- You got 3 hours to complete the entire set. As soon as you start your timer I want you to take a picture of the “before nails” with a white background (both hands) together with a phone where you can see the time and the date.
- Complete your set and take another picture, same as for step 1 together with a phone where you can see the time and the date, but now with the finished set. It’s ok if you finish before the 3 hours have passed, but I strongly recommend you to use as much of the time as possible and work on the finishing touches. You are not getting extra points for finishing early.
- Follow the photography instructions (angles, etc), take the pictures and save them to your computer.
- Compress all files into ONE .zip file (follow the instruction video below).
- Up to 7 working days after submission you’ll find your result where you submitted your set.
- If want to get feedback on a set before sending in your certification set, CLICK HERE to get to the “personal feedback” page.
How to take pictures of your certification set
This step is very important, because if the nails are not shot in the correct angles or if the pictures are bad quality, then I won’t be able to grade your work.
- Use a white background for all angles (follow the photo schedule below).
- Photo editing is not allowed unless you need to brighten up the pictures a bit. Just be careful so that you don’t overexpose the pictures, it’s important for me to see all details.
- All angles have to be submitted.
- Use good lighting. The more lit up the hands and the surrounding area is, the better pictures you’ll get.
- If you use your phone, don’t take pictures too close to the nails as you’ll then get the “fish eye effect”, which will transform the nails a bit. Using your phone is absolutely ok but if you have a camera and know how to use it, then that’s even better.
Angles – Certification Set
These are the pictures that I want you to submit:
- The “before set” together with a phone where can see the time and date.
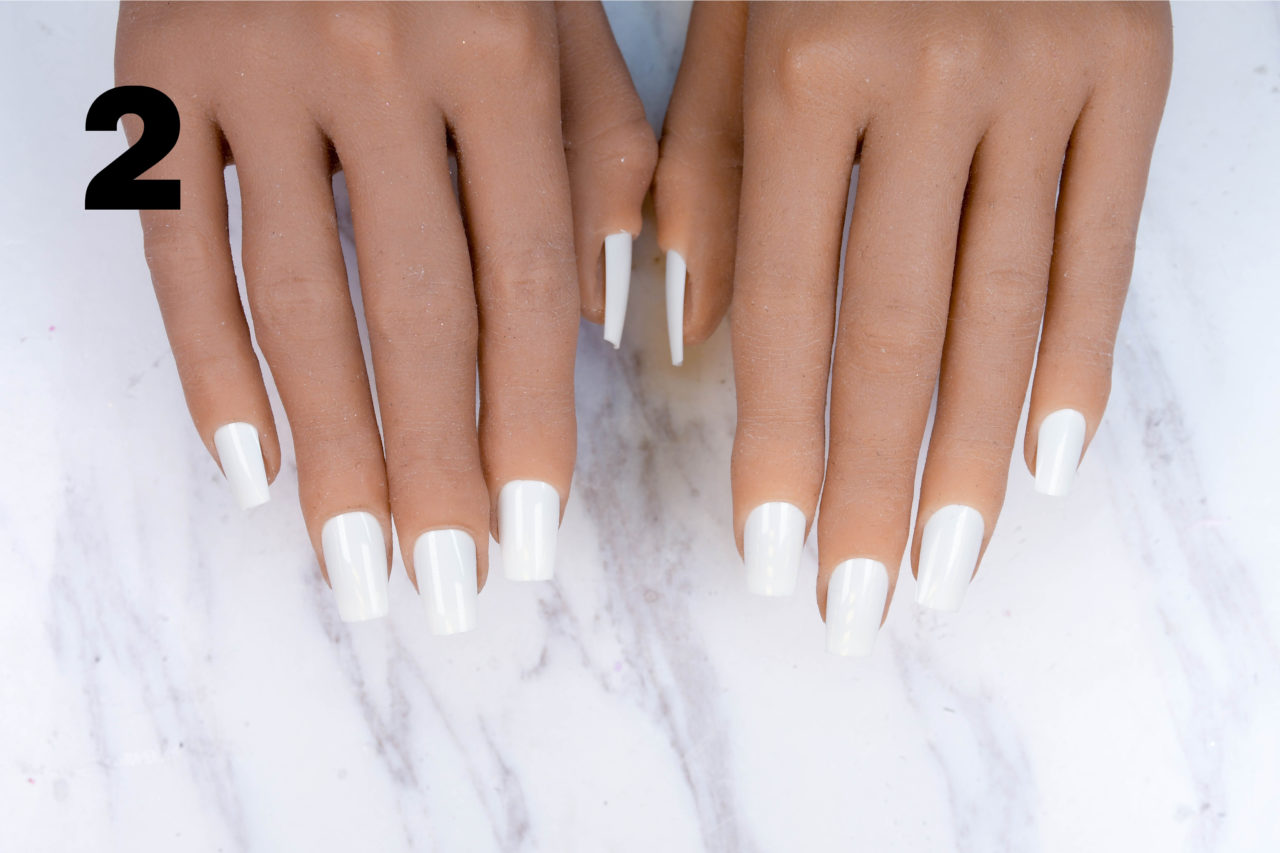
- “First impression” tech view – both hands parallel to each other
- “First impression” client’s view – both hands parallel to each other
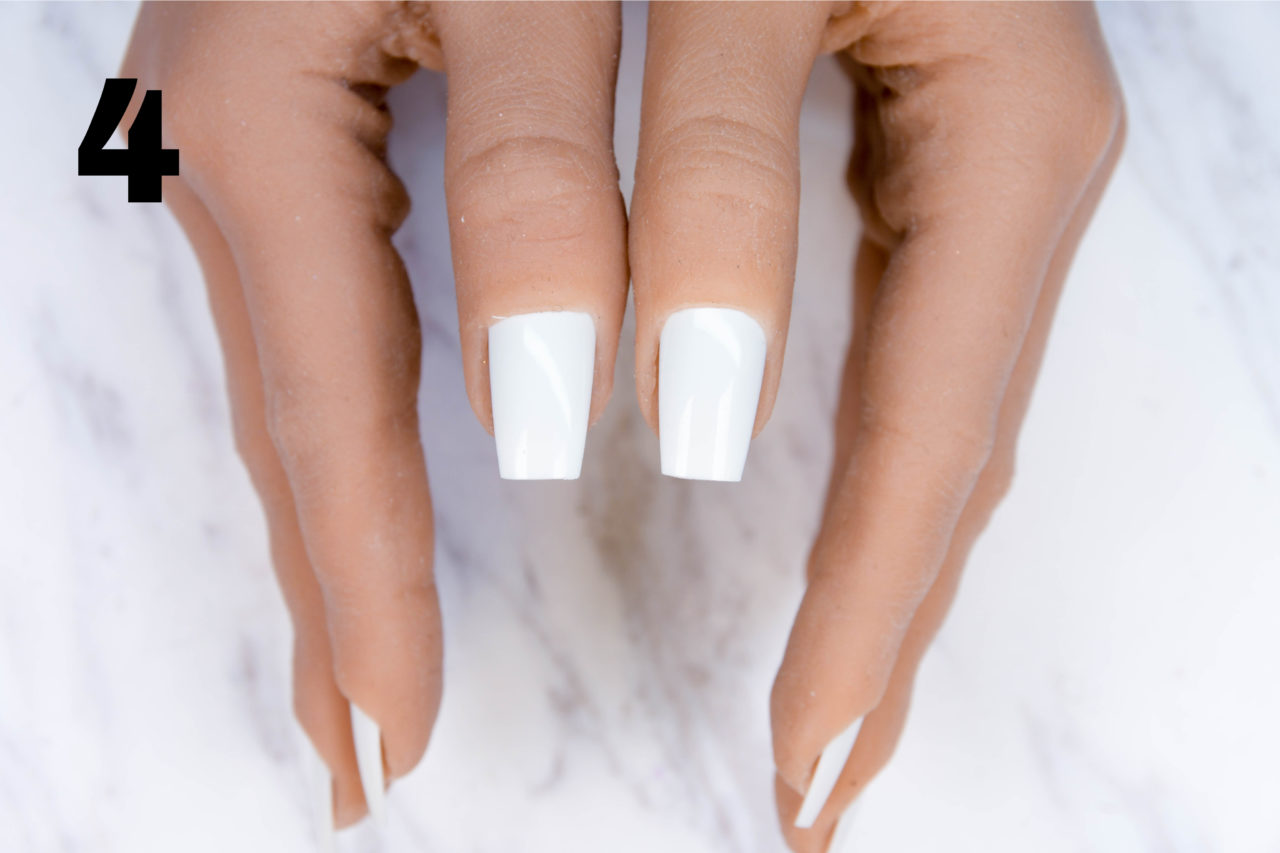
- “First impression” thumbs – both thumbs parallel to each other
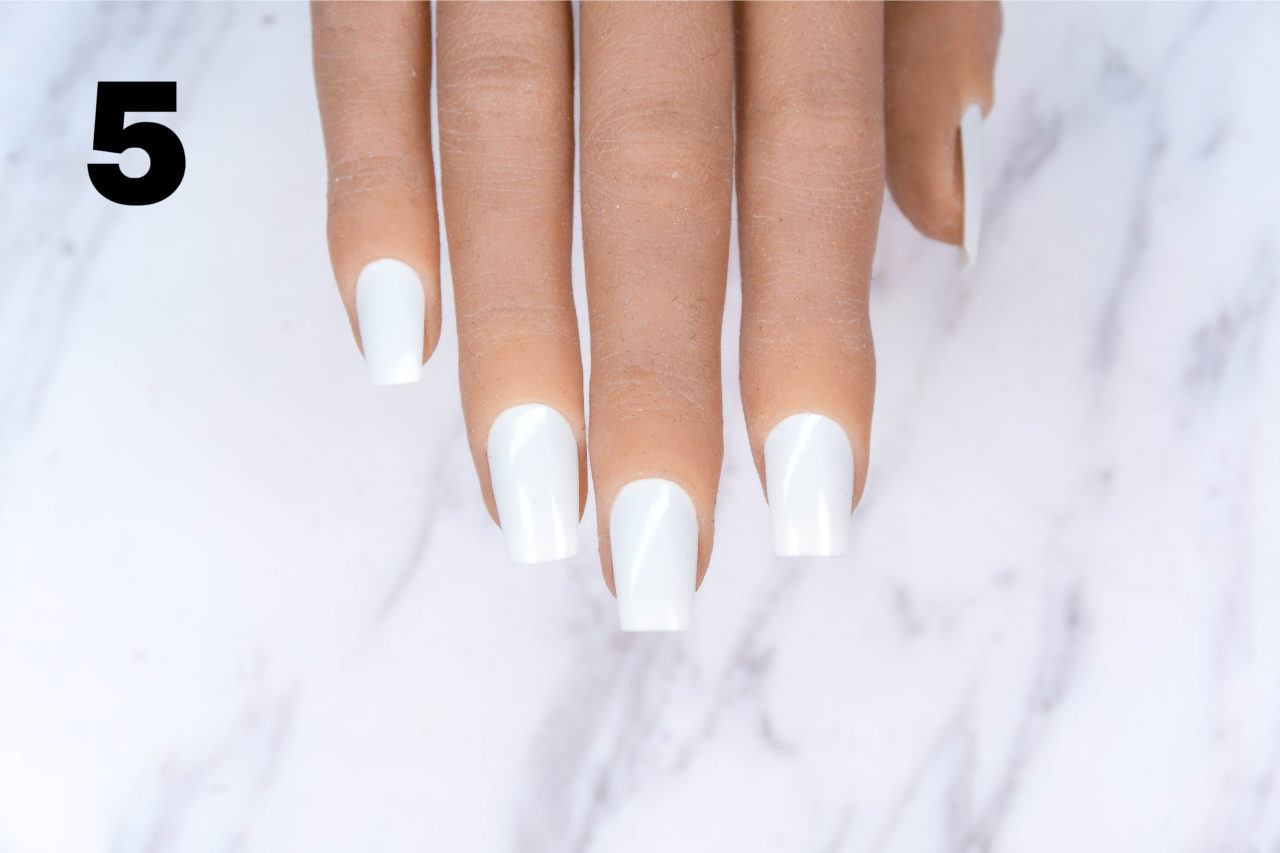
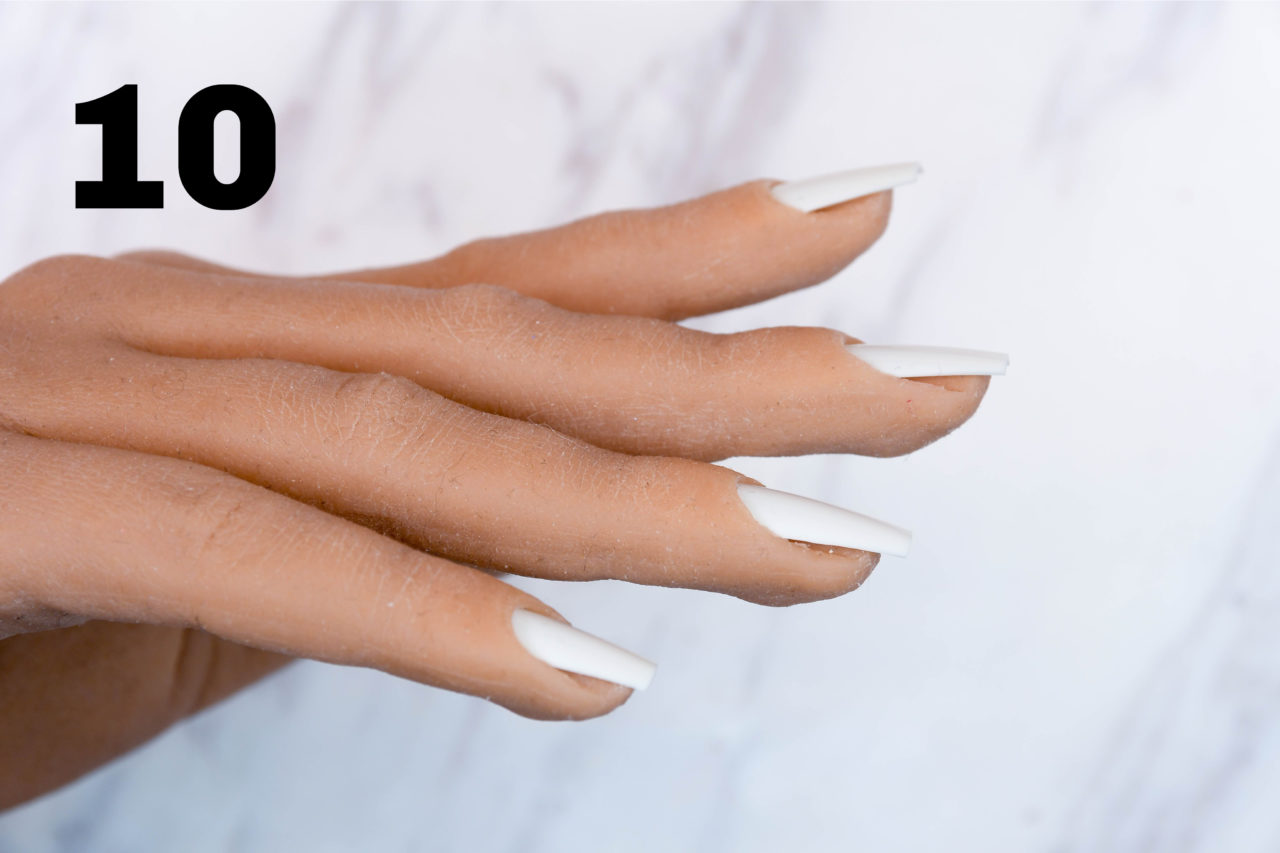
- “Tech view” – right hand
- “Client’s view” – right hand (line up the cuticles of the index, middle and ring fingers)
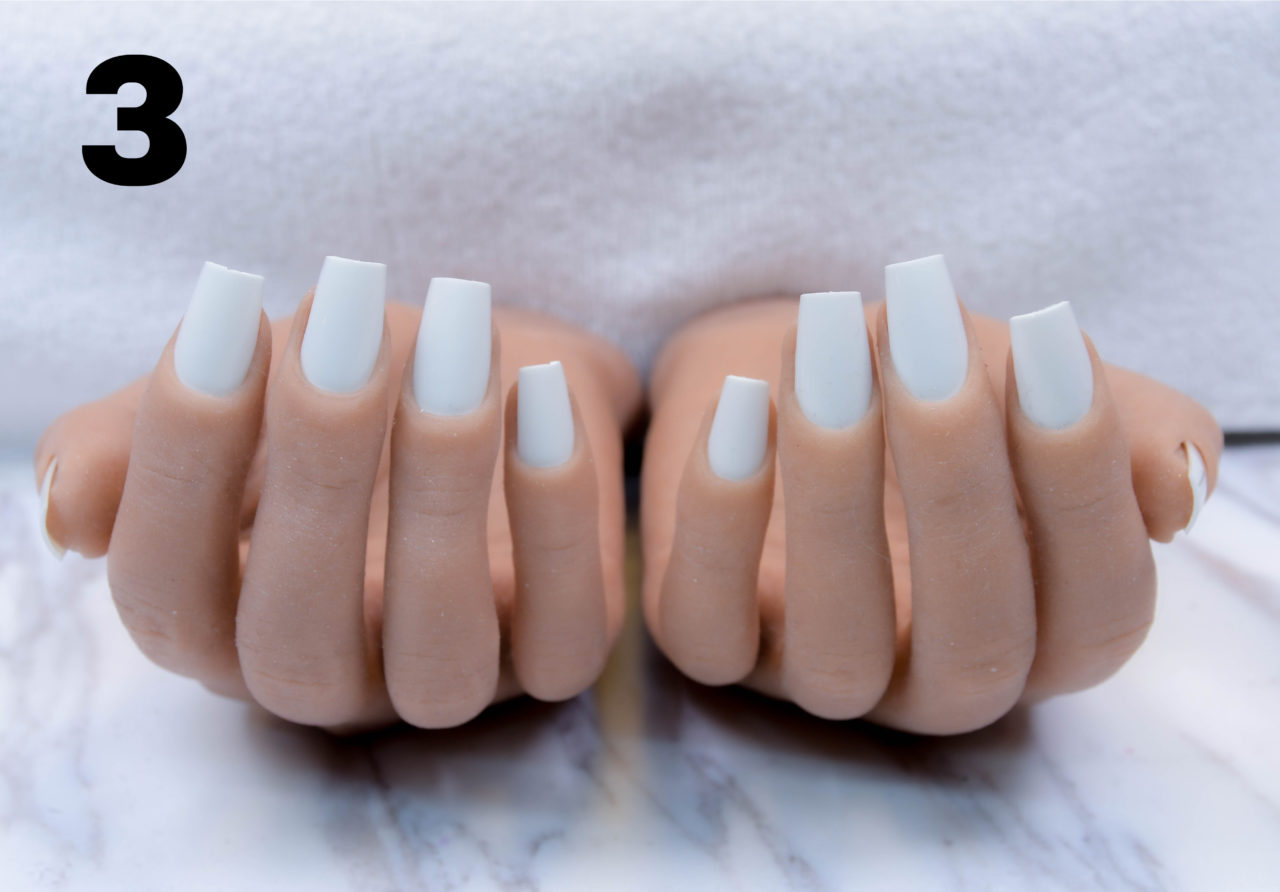
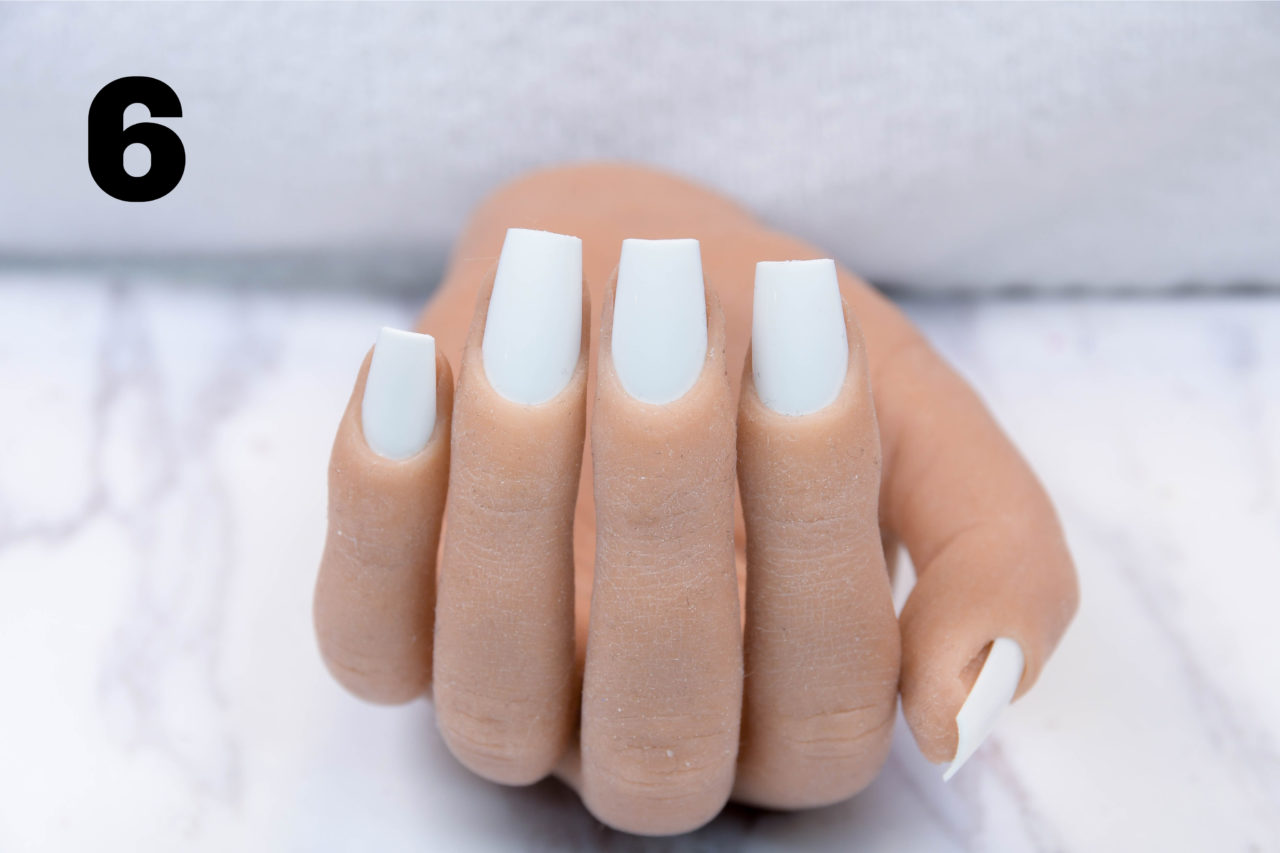
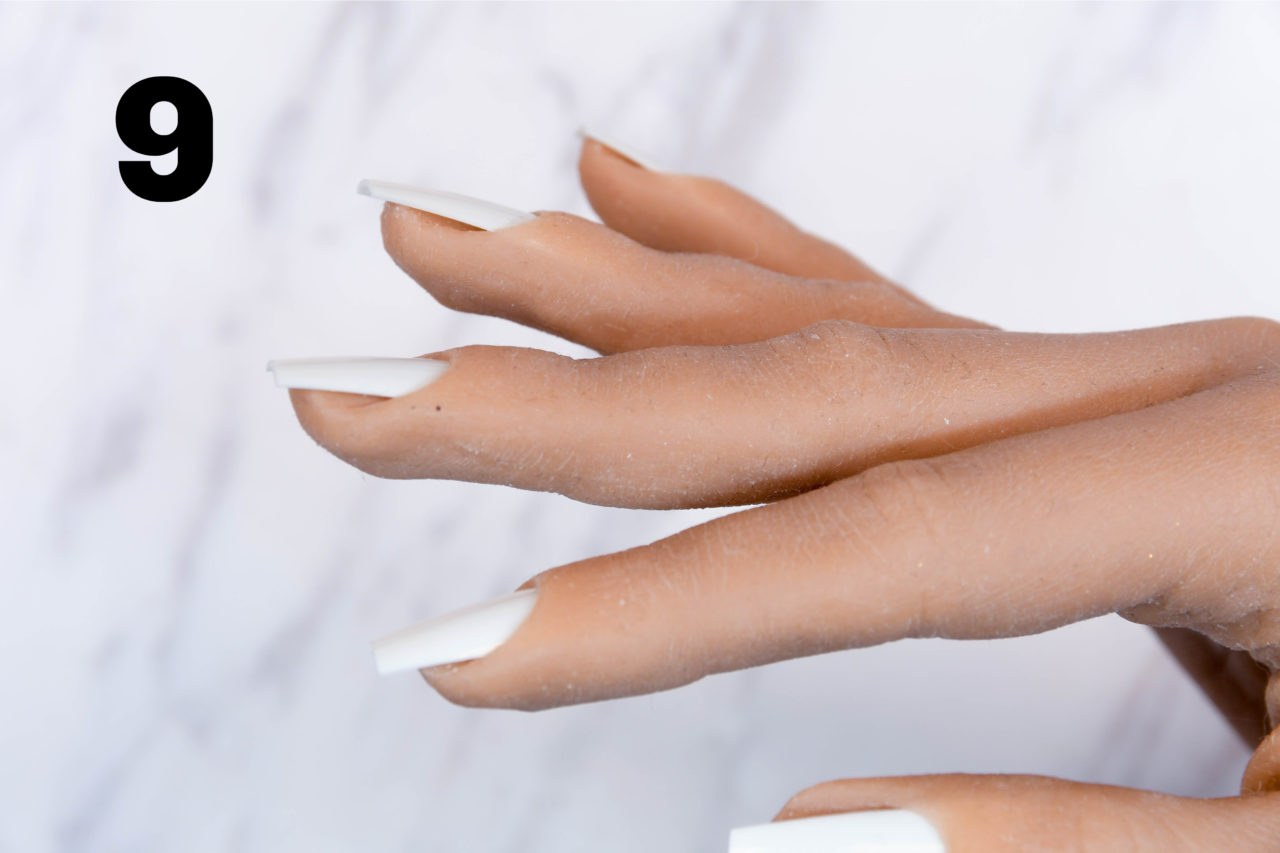
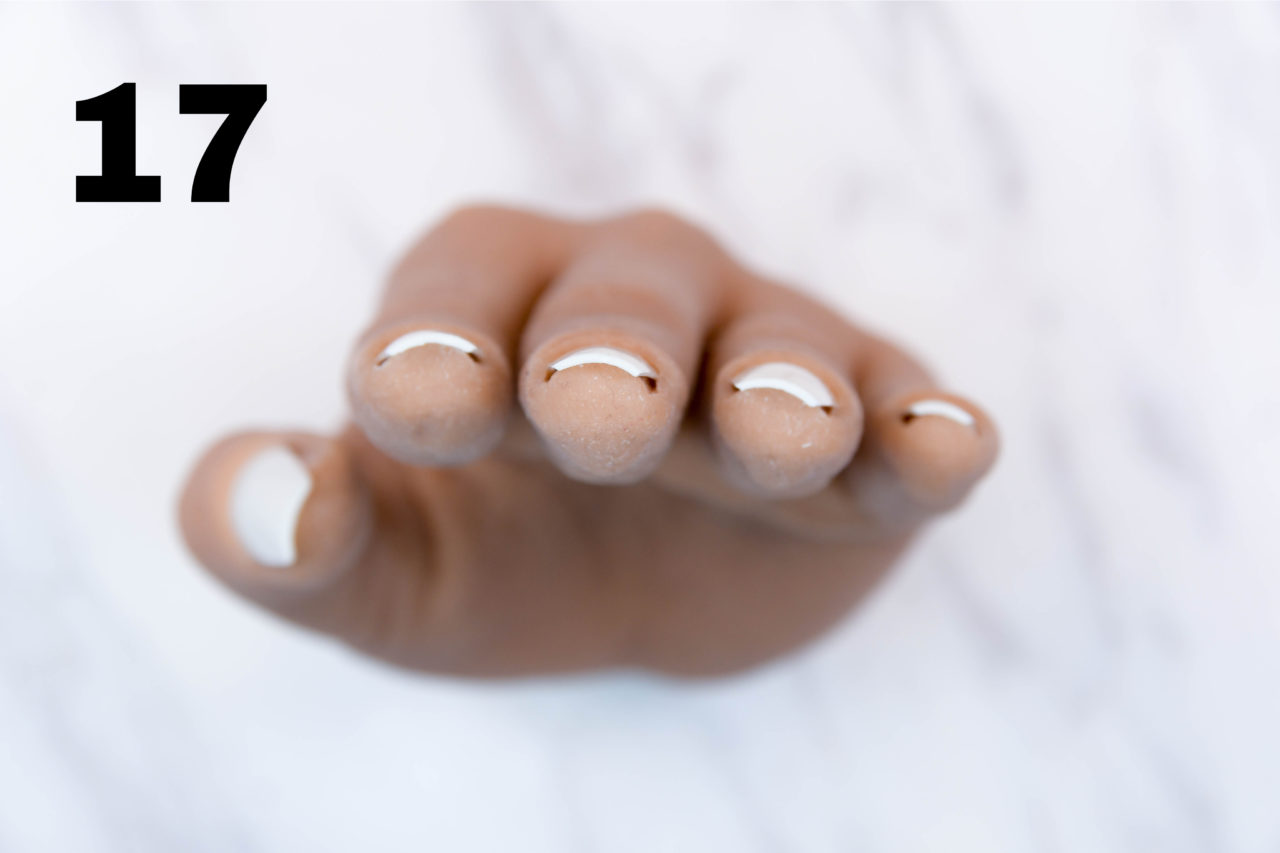
- “Down the barrel” – right hand
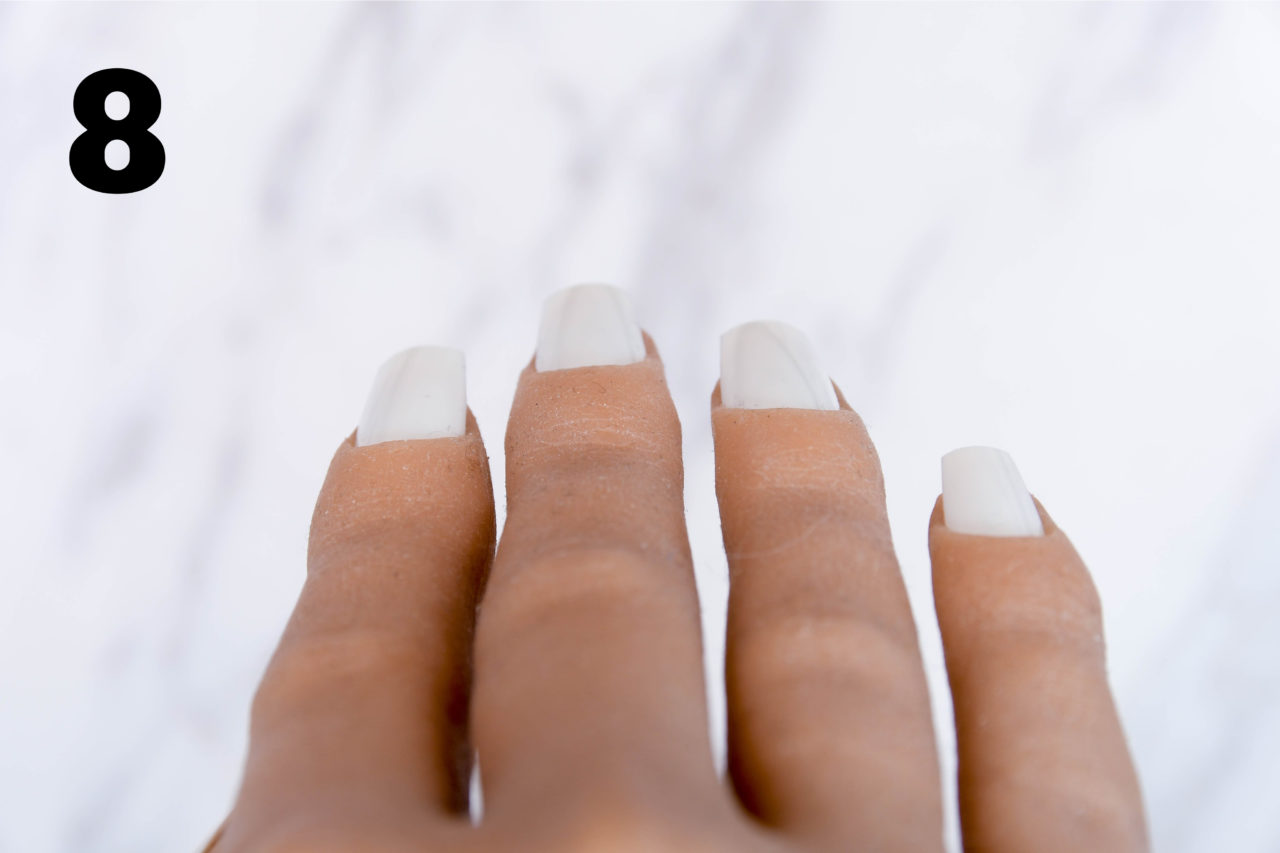
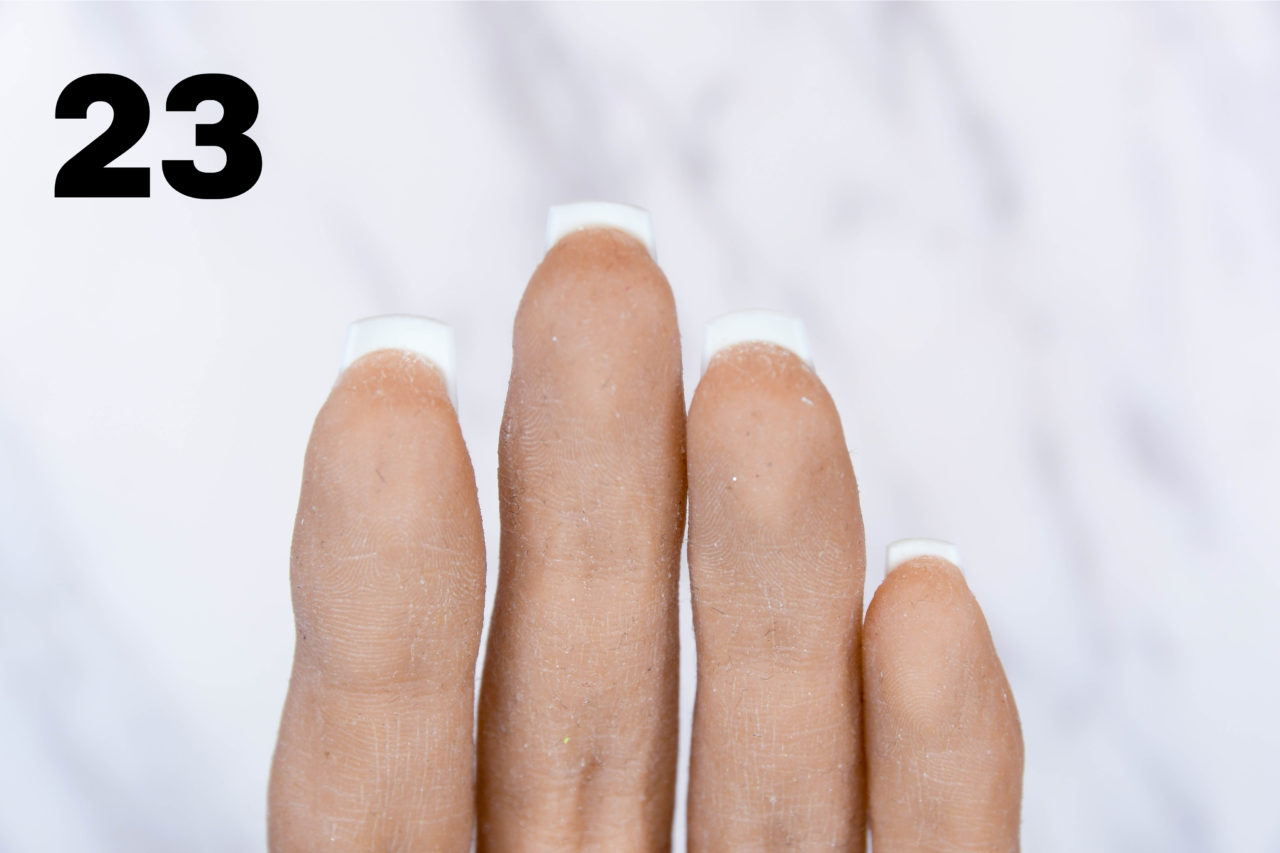
- “Reverse down the barrel” – right hand excluding the thumb
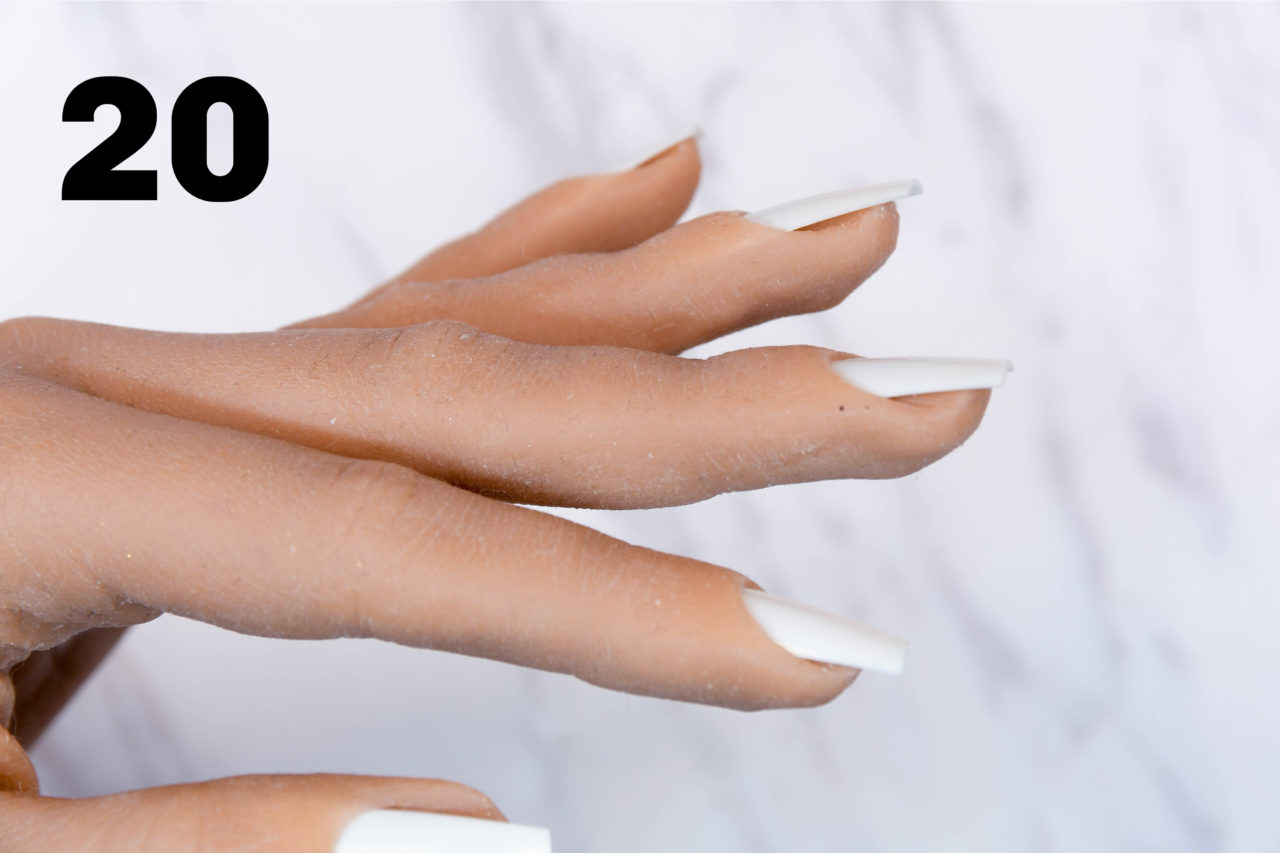
- “Side view right side” – right hand excluding the thumb
- “Side view left side” – right hand excluding the thumb
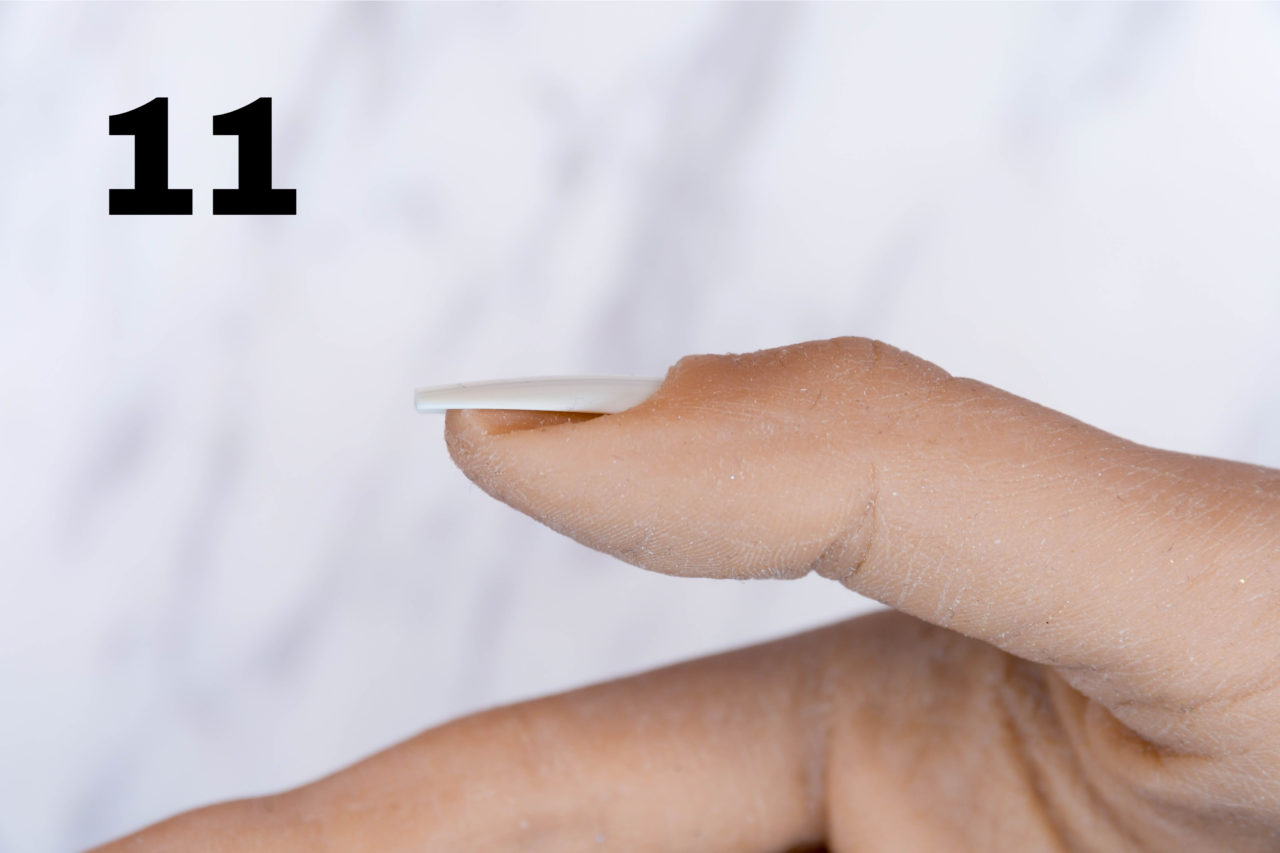
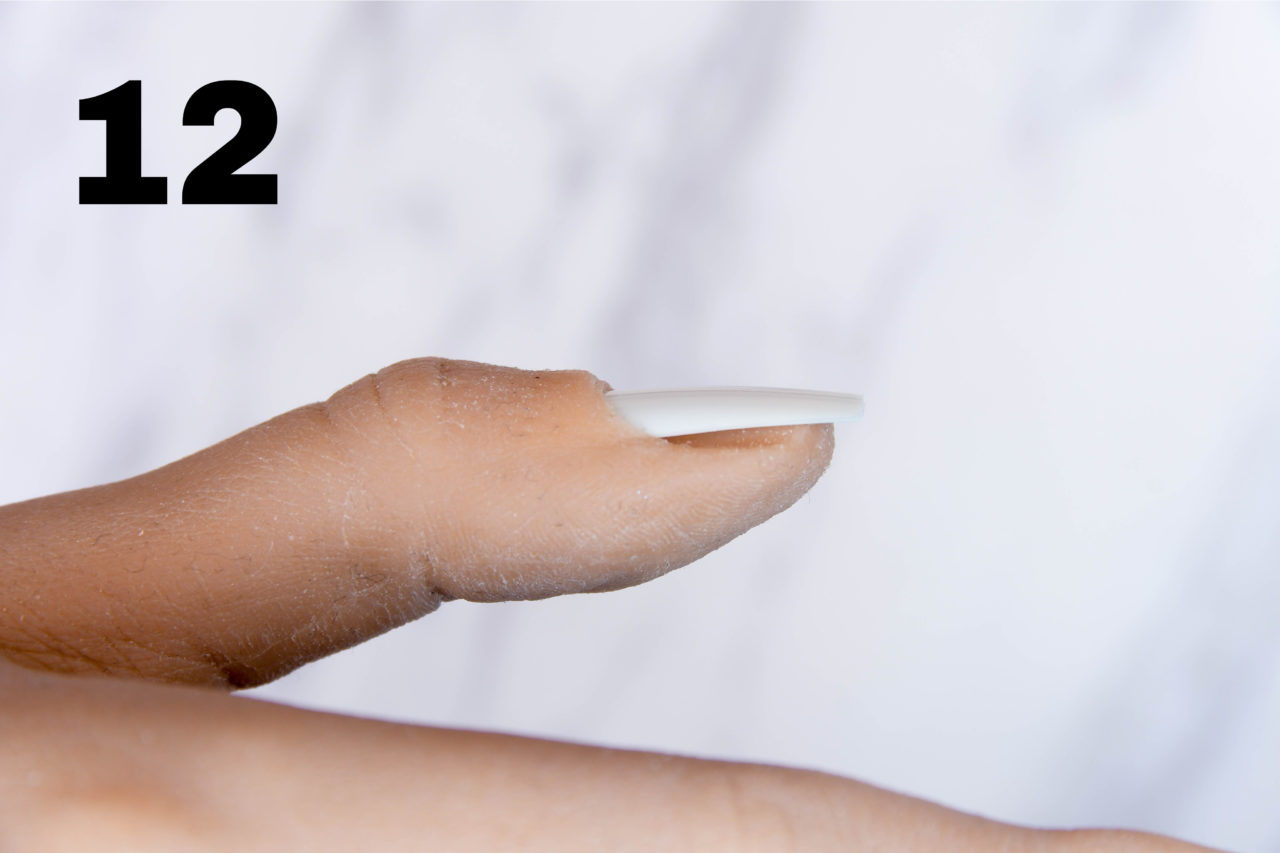
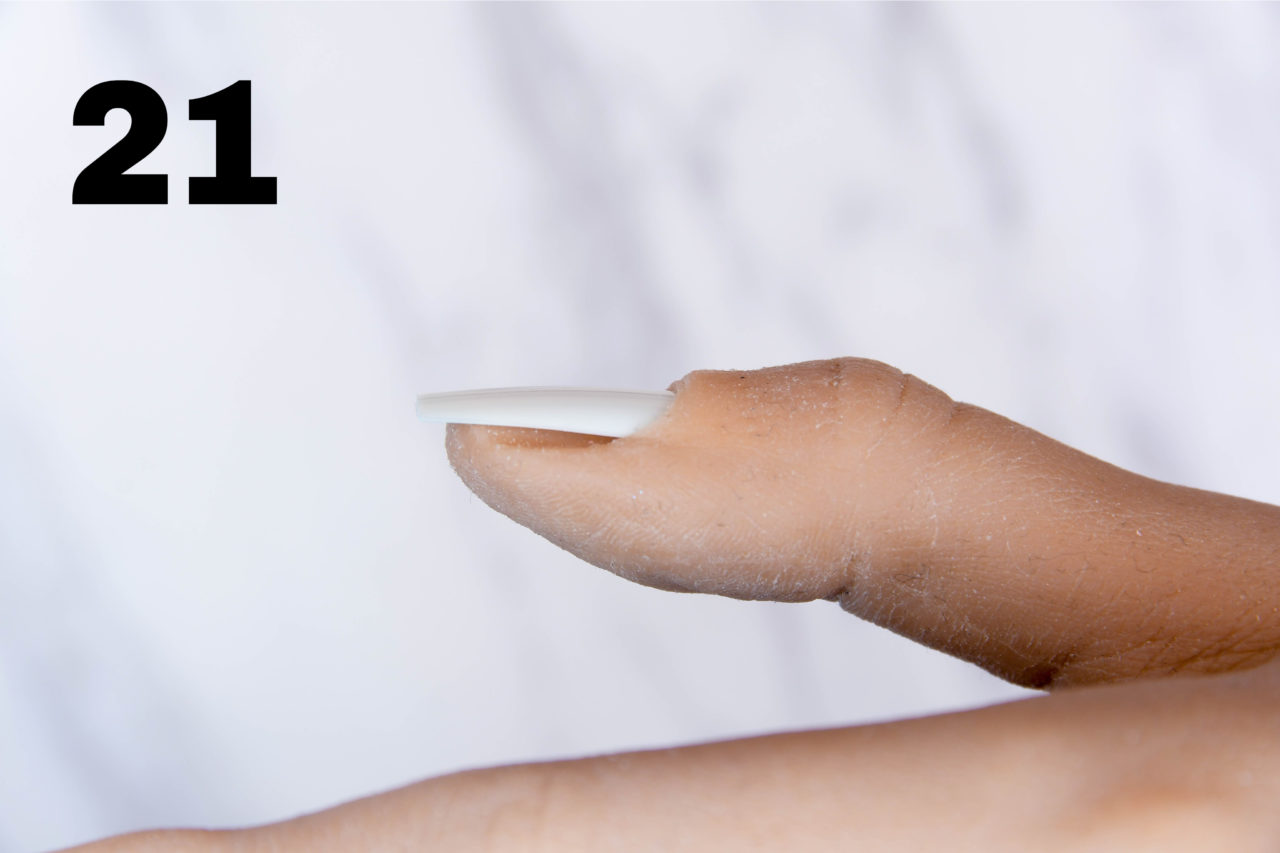
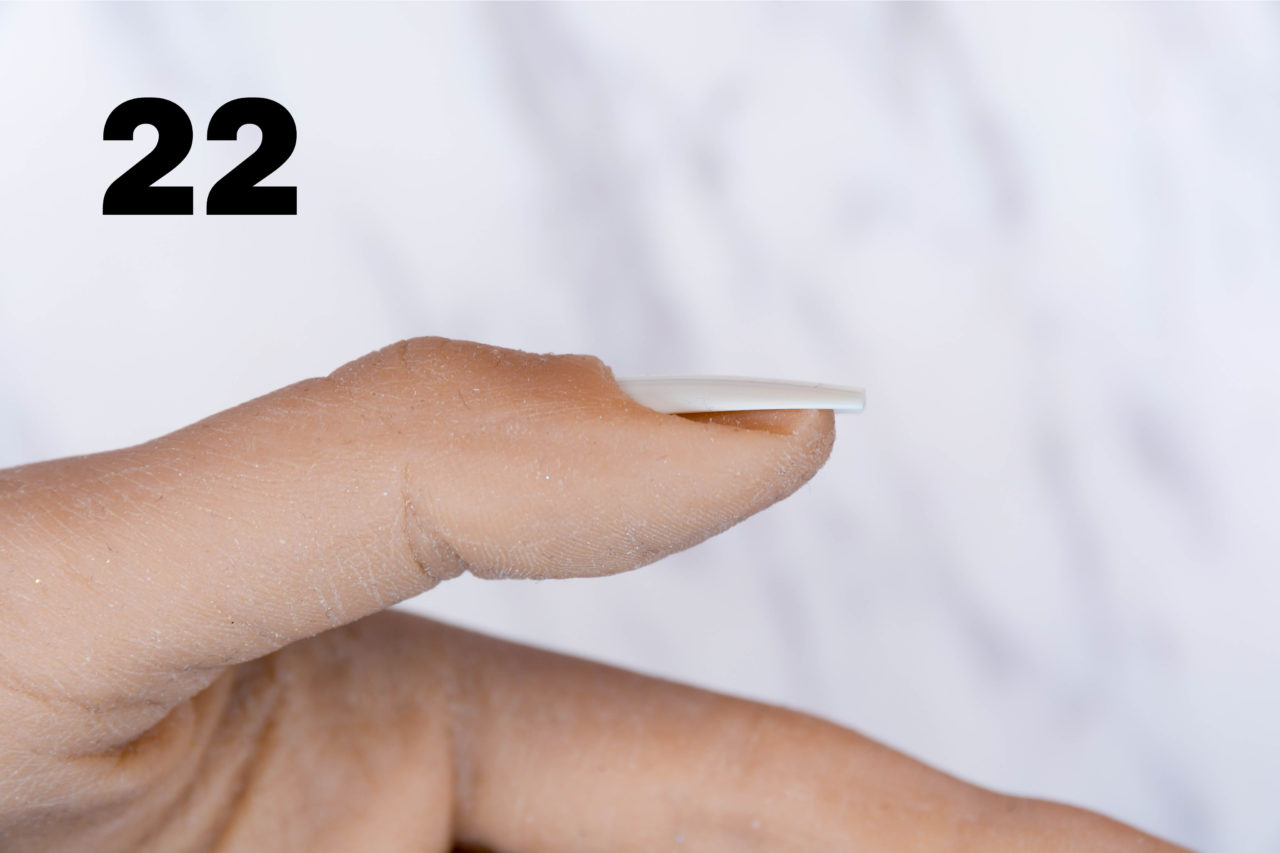
- “Side view right side – right thumb
- “Side view left side” – right thumb
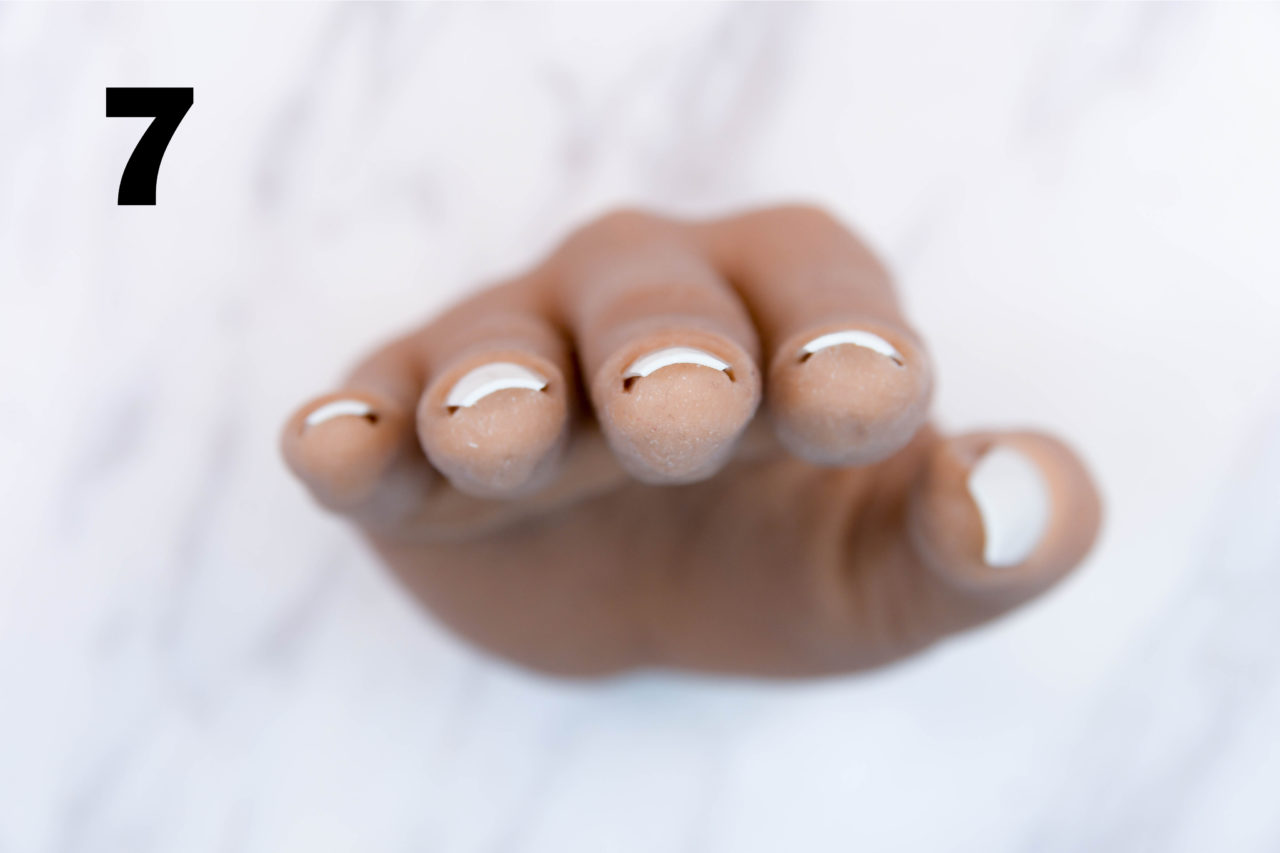
- “Upside down” – right hand excluding the thumb
- “Upside down” – right thumb
- “Tech view” – left hand
- “Client’s view” – left hand (line up the cuticles of the index, middle and ring fingers)
- “Down the barrel” – left hand
- “Reverse down the barrel” – left hand excluding the thumb
- “Side view right side” – left hand excluding the thumb
- “Side view left side” – left hand excluding the thumb
- “Side view right side – left thumb
- “Side view left side” – left thumb
- “Upside down” – left hand excluding the thumb
- “Upside down” – left thumb
- The “after set” together with a phone where can see the time and date.
Don’t submit any other pictures than these 25 angles listed above.


How to submit your pictures
Here’s an instruction video on how to submit your certification set.
Some last advice from me
- Use a model with beautiful hands and nail beds. It’s going to make it so much easier for you. Also try to find a model who doesn’t have wide nail beds since this is something that will increase your overall time.
- If you can, practice the certification set on your model a couple of times before the final certification.
- Check underneath the nail and remove dust or leftover gel.
- Make sure that you don’t got any dust left on the model’s hands.
- You are allowed to use cuticle oil, but there should be no visible signs of oil residue left in the cuticles, on the nails or the skin. My best tip is to finish off with some hand lotion and then use the “squeak technique” to polish up the surface.
- Make sure to set aside at least half a day for the certification. It’s important that you got enough time before starting so that you don’t feel stressed. It’s also important that you got enough time afterwards to take all the necessary pictures. Tell your model that she need to set aside at least 4 hours.
- Mind how you set up your station. Only keep the necessary products on your table so that you can move around without spilling or knocking something off.
- Prepare your brushes, clean your jars and make sure to keep the work space clean from dust.
- Take several pictures of each angle. You are only allowed to submit ONE picture per angle, but in some cases I will ask you to send me additional pictures of your set if I’m unsure how to grade a certain part.
- Double check the class compendium and study the criteria that I’m following when grading your set.
- Yes, you can choose to cheat and adjust the time/date on your phone so that you get more time. There are tons of ways to cheat your way through all this. But here’s the thing, I am now offering you the opportunity to take part of my own personal “Celina Rydén” brand. This is a brand that I have been working on for many many years and worked hard to get it to where it is today. Once approved you are allowed to be a part of that brand and hopefully it will help you grow your business. All I ask, is that you are being honest with me. I am really looking forward to share my brand with you and I can only hope that you will show me respect by not cheating on your test.
- Remember, if you complete your certification set and you don’t feel happy with the result, then you don’t have to submit the set to me. Analyse what you should have done better and try again later.
- If you want me to give you personal feedback on a certification set that you are not planning to use for the actual certification, then click HERE.